Blog

Mindful Mushrooms Collage Workshop


15 Apr 2020

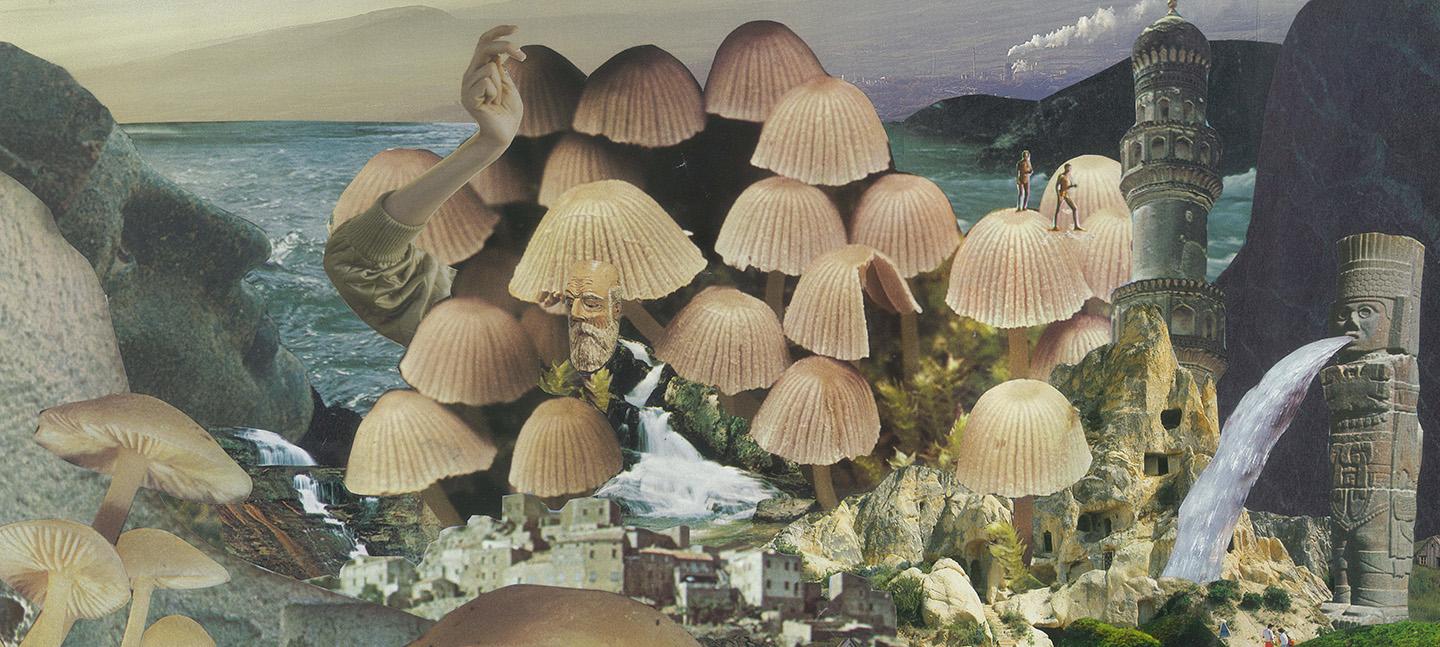
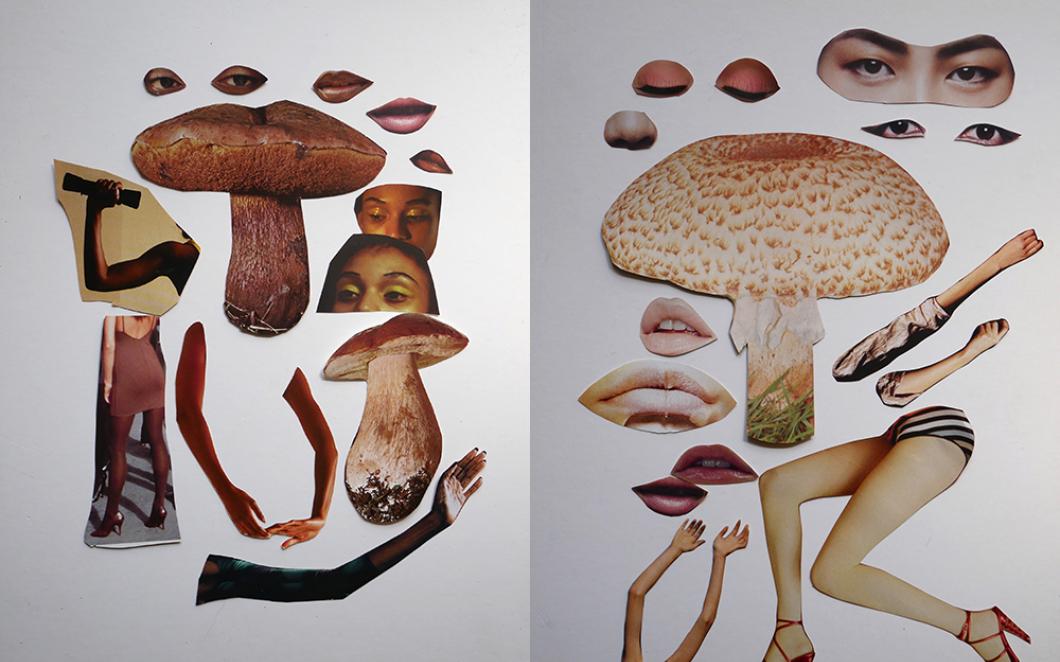
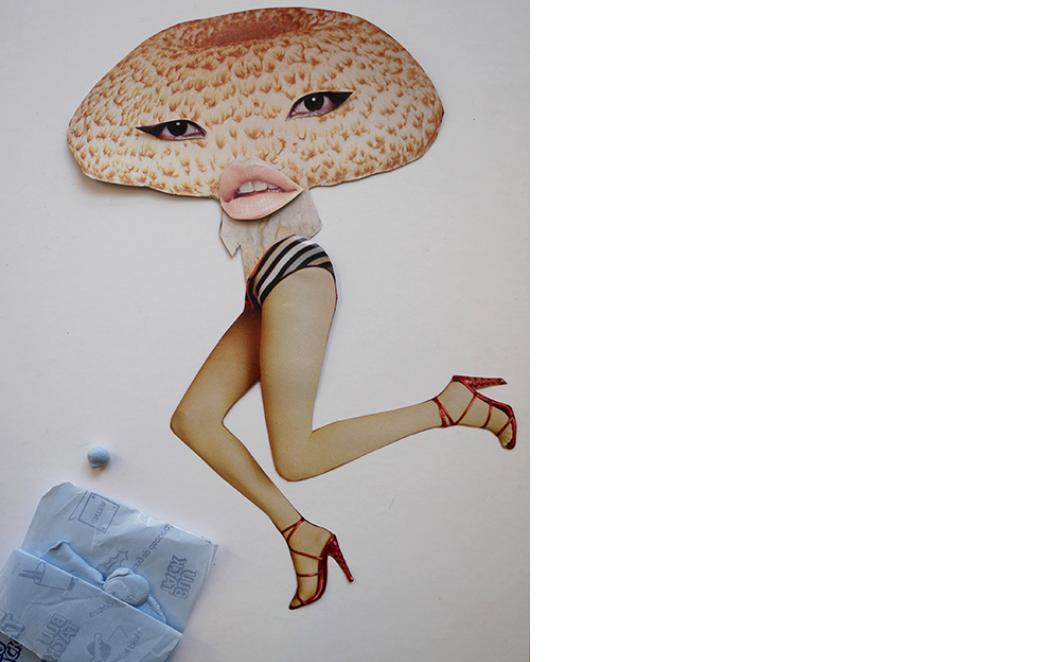
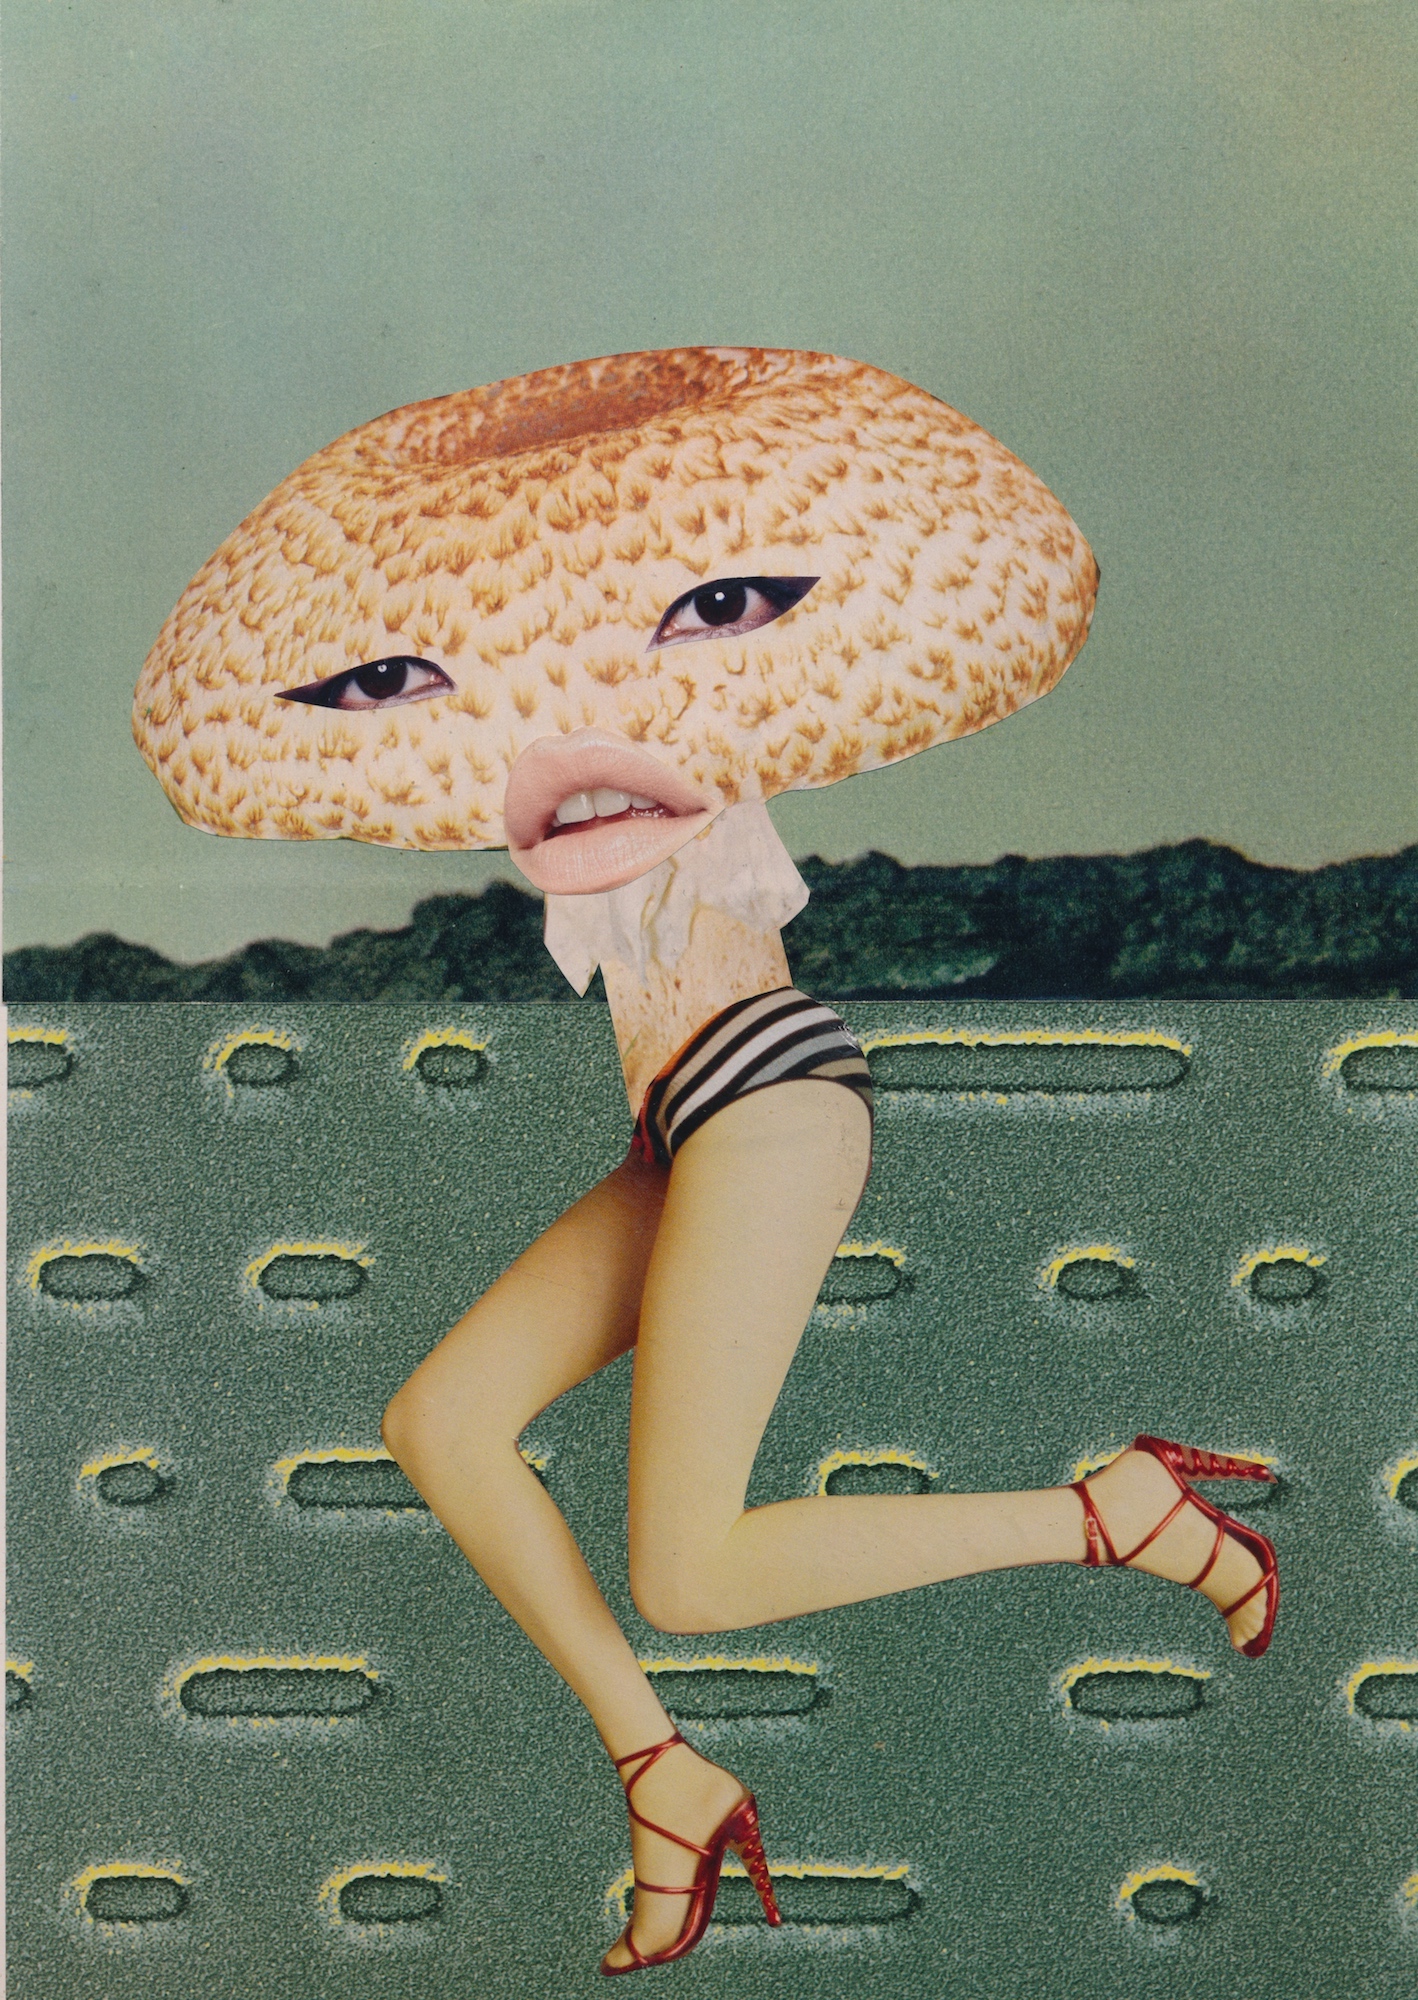
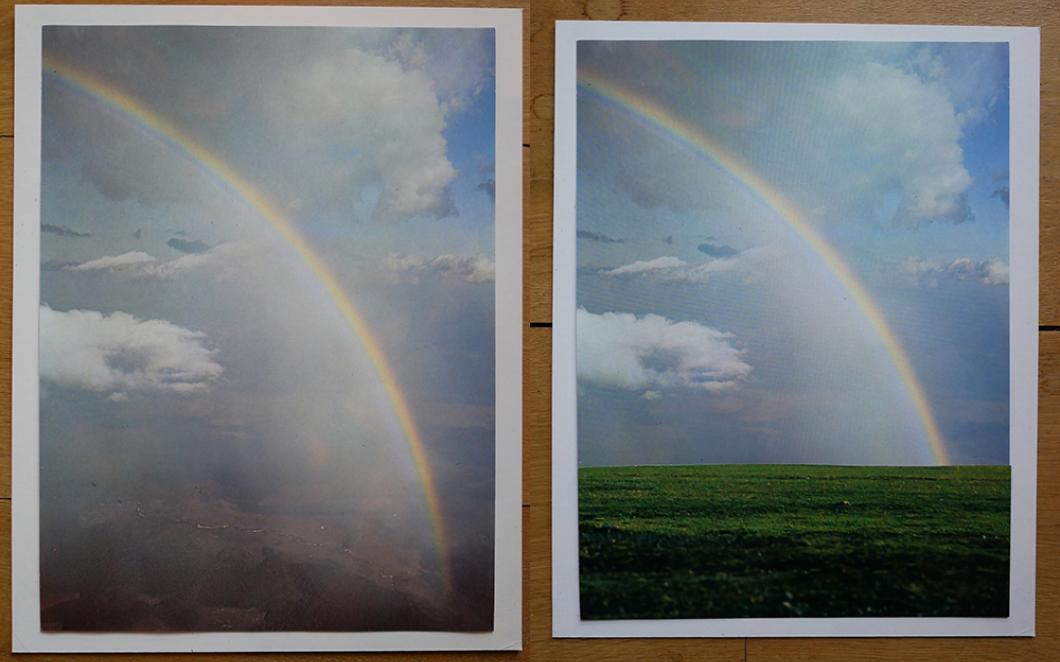
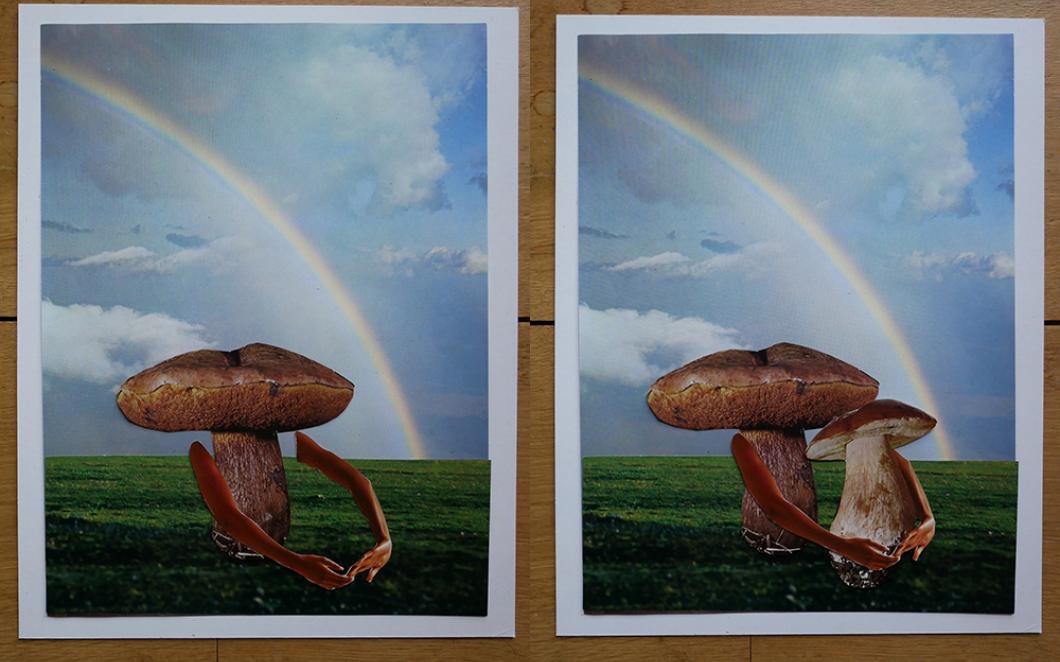
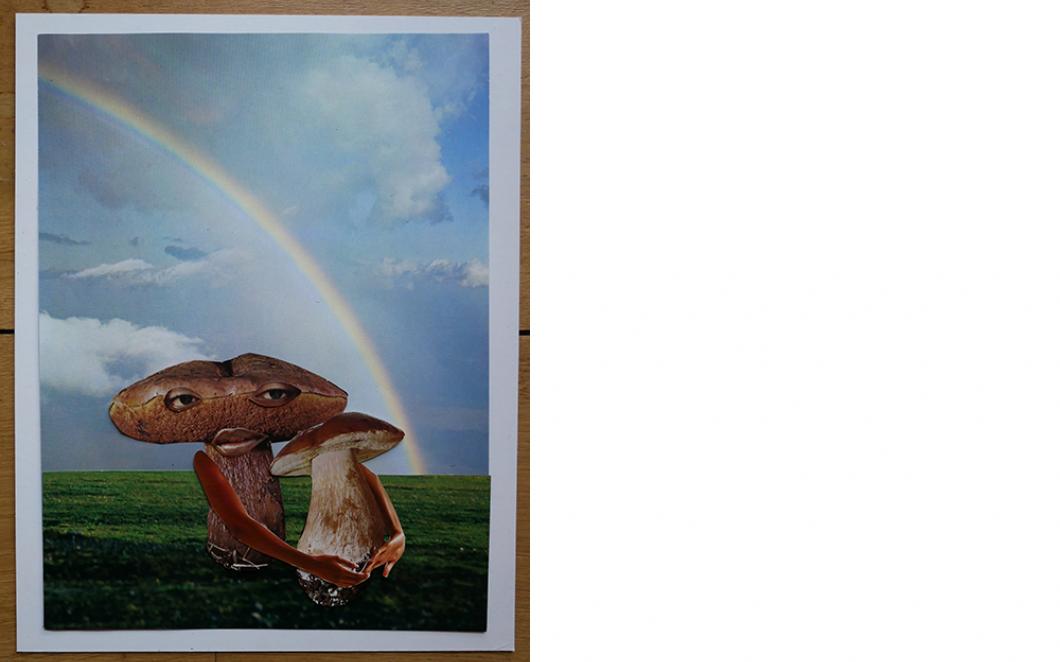
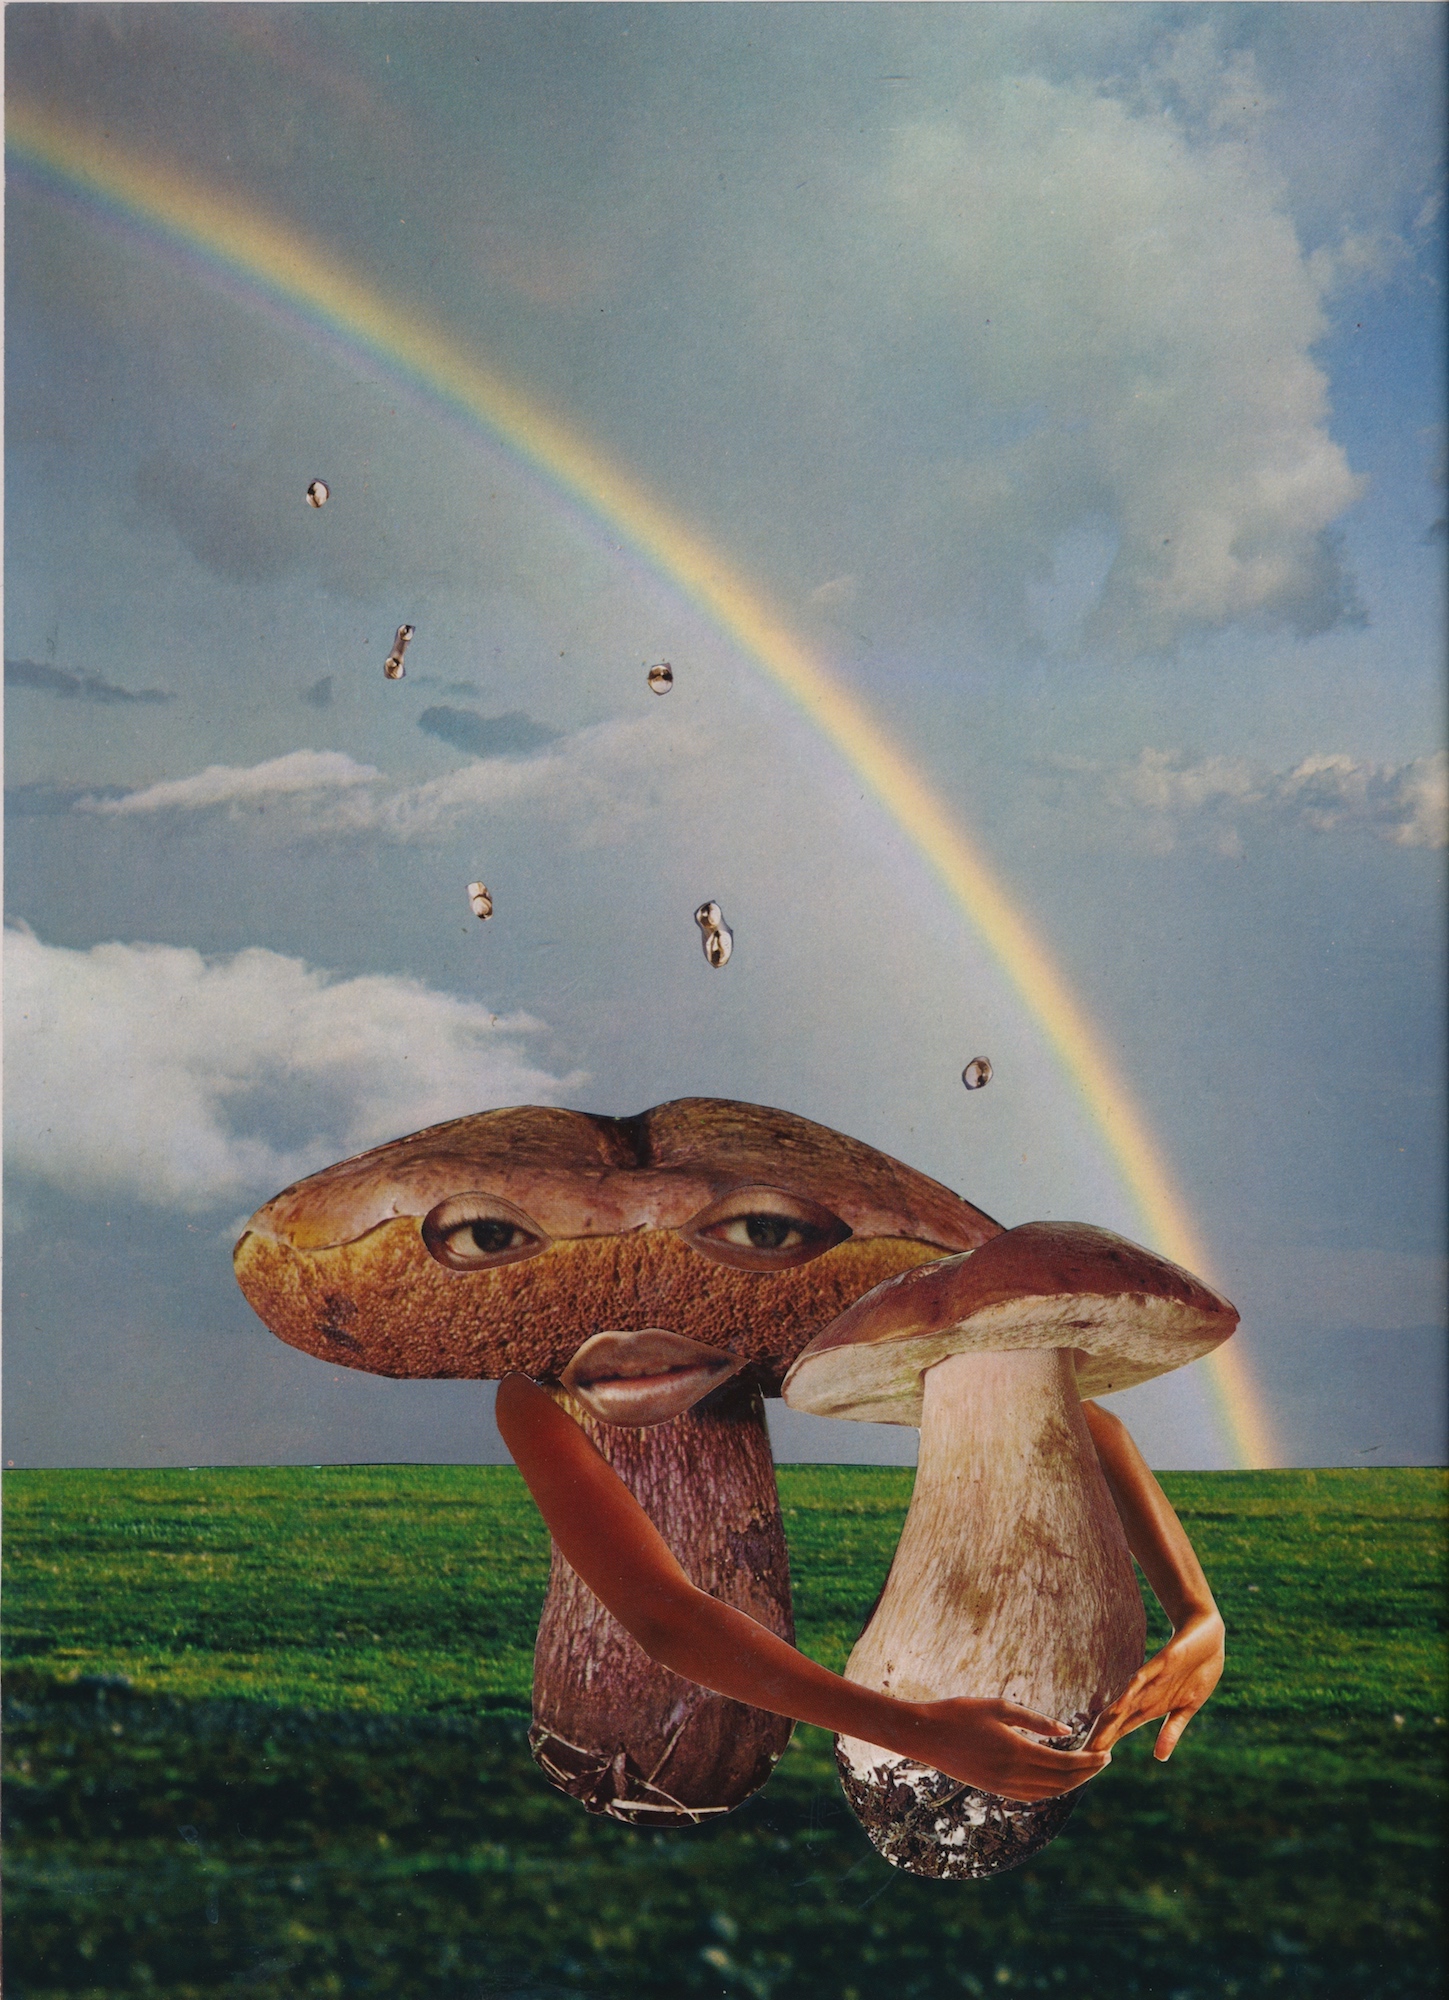
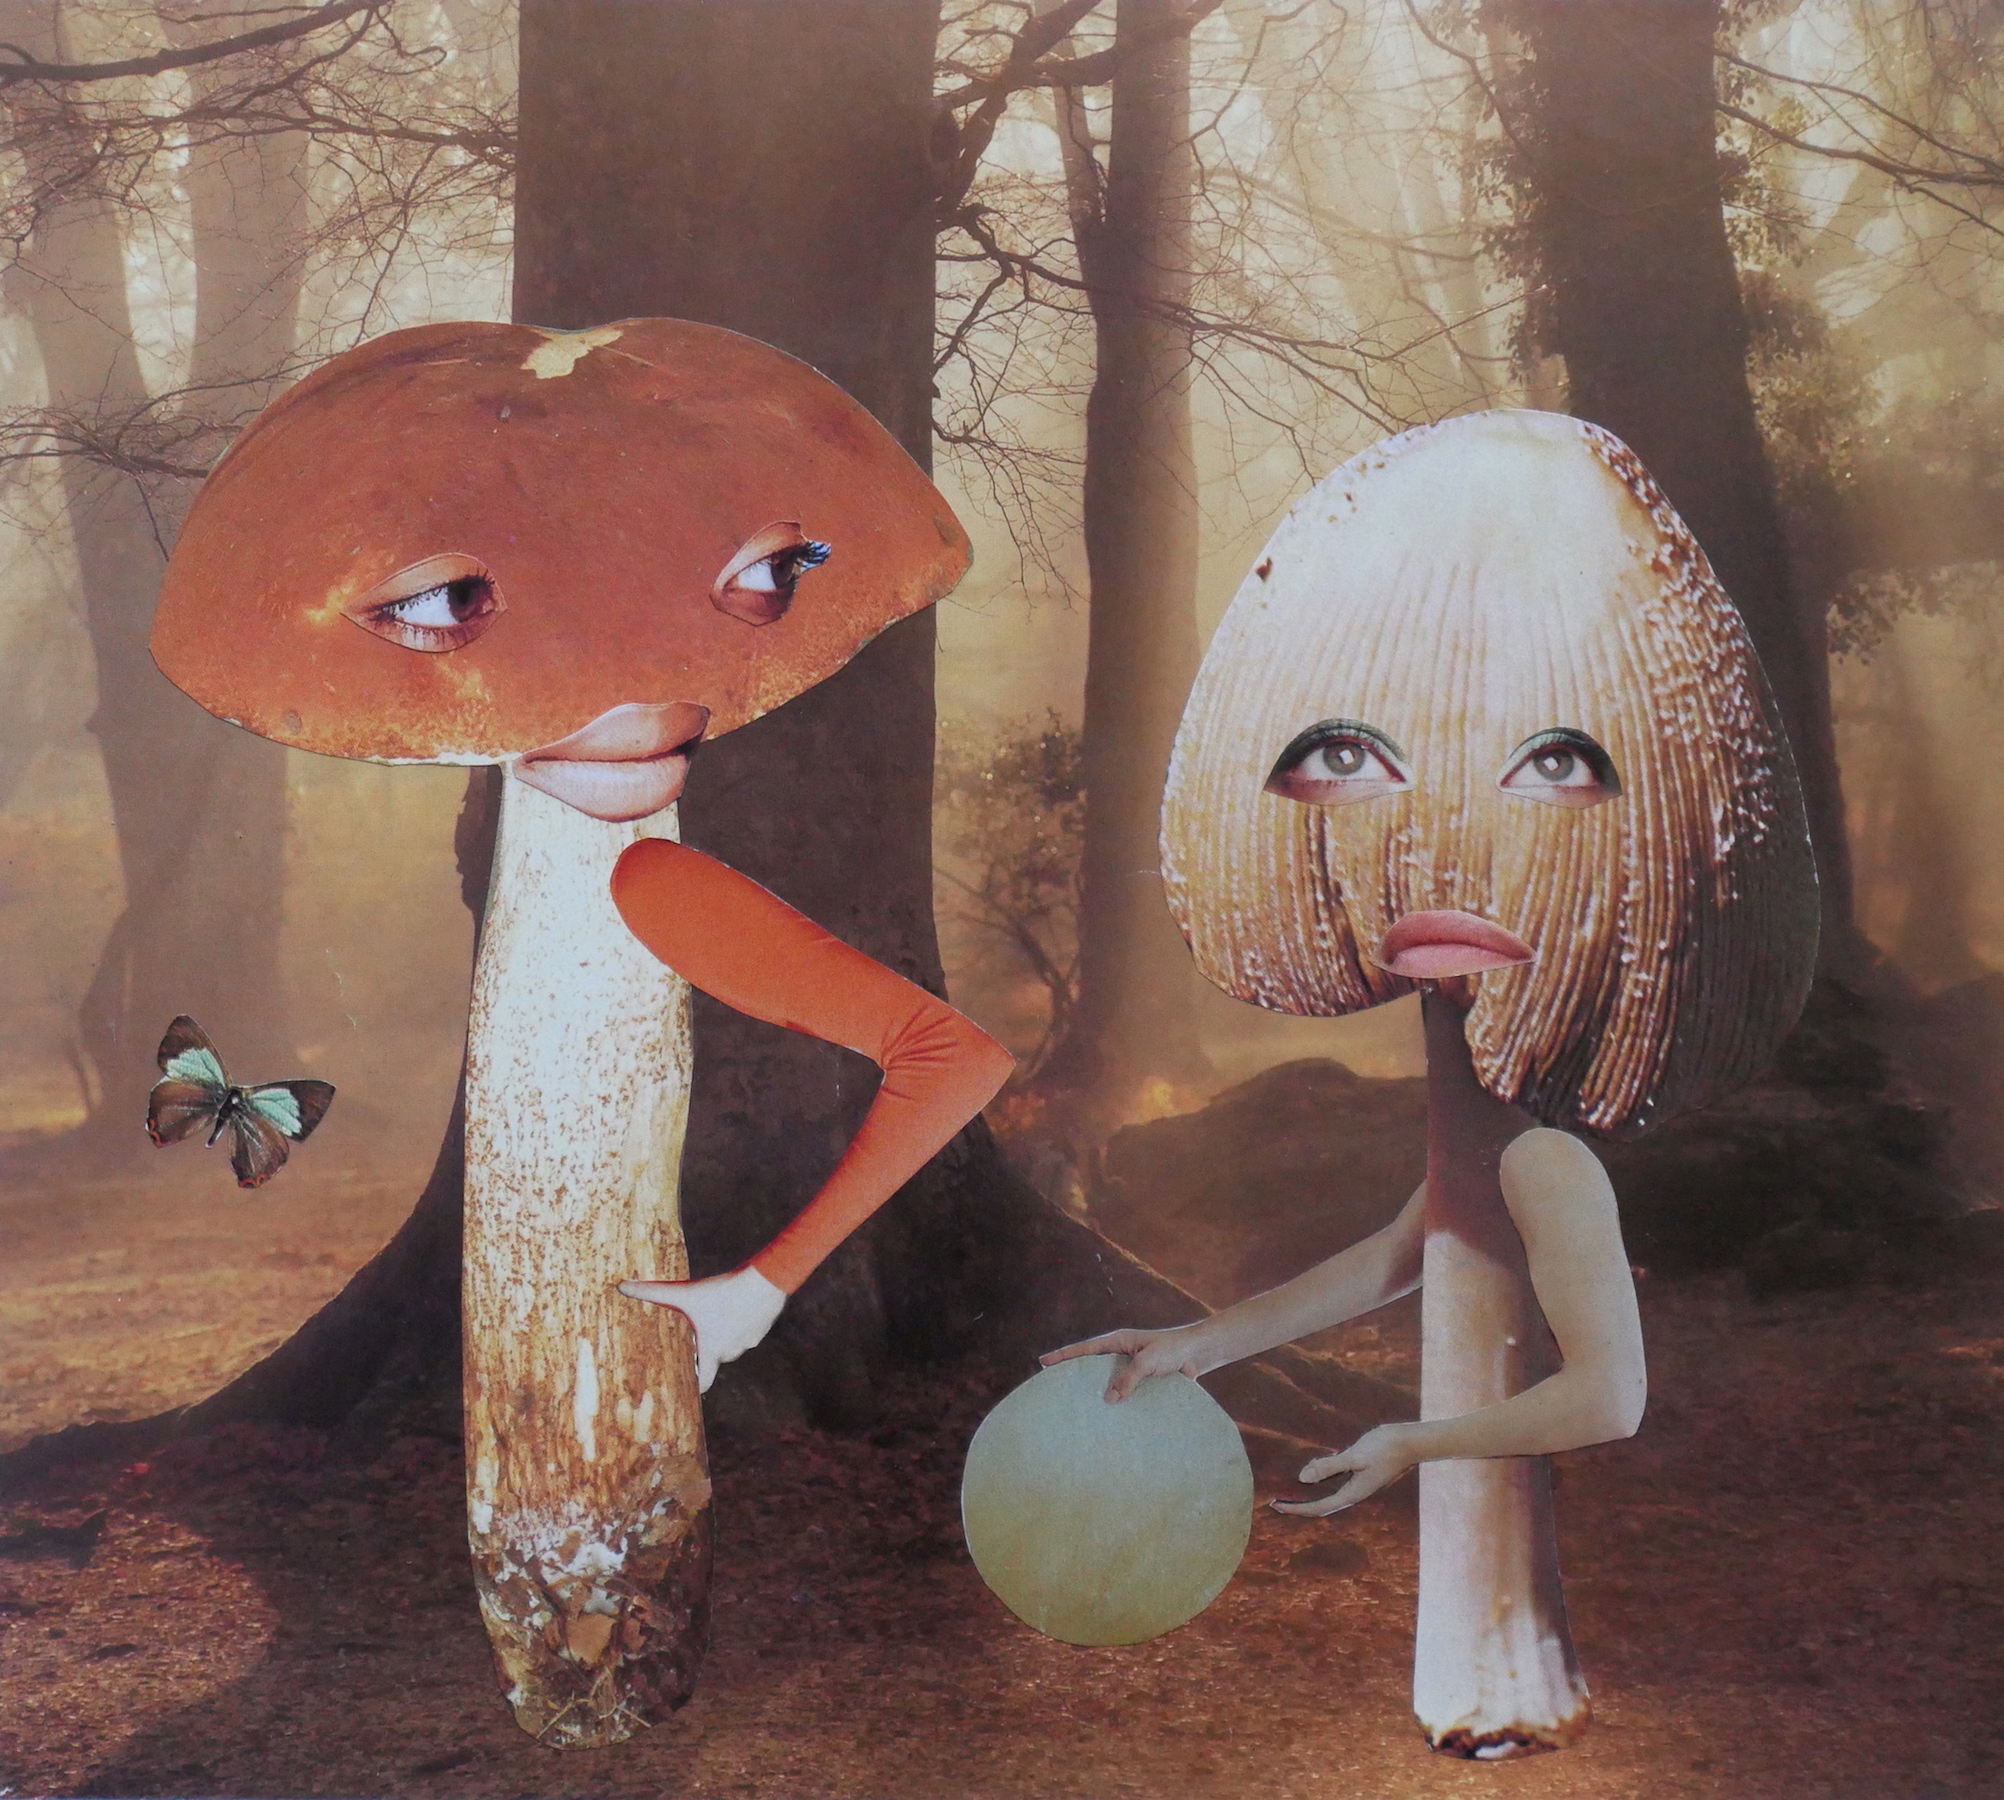
Discover the art of collage with artist Seana Gavin.

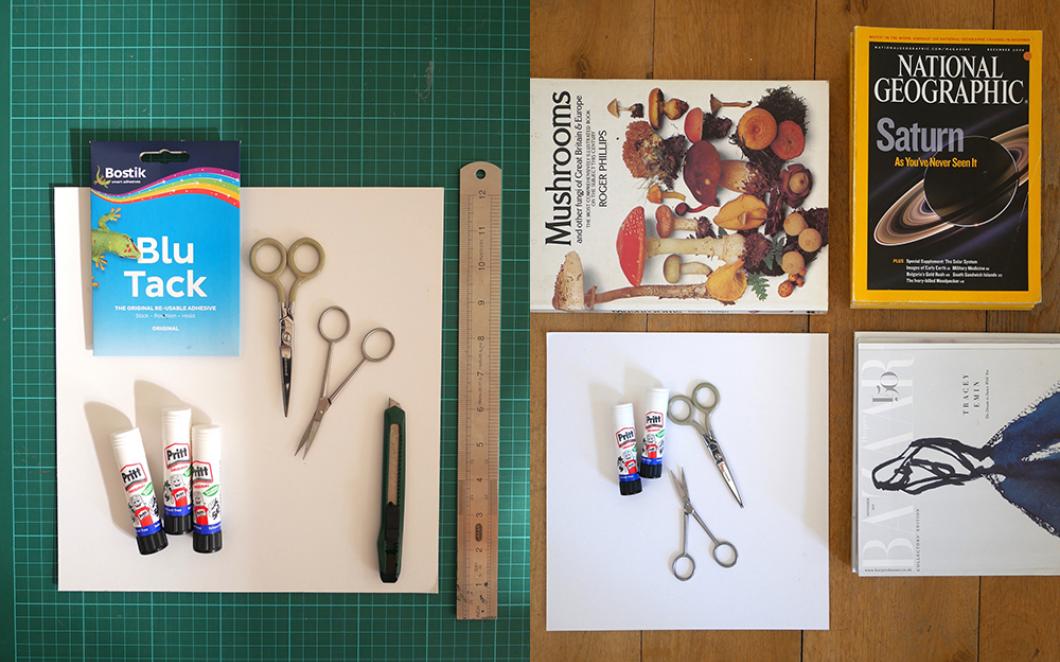
Inspired by her cut-and-paste creations which transform old magazines, newspapers, books and archival material into spectacularly surreal artwork, this online workshop will feature a range of instructive images to help you create your own collage pieces, using a range of materials found at home, saved from the tip for imaginative, artistic reuse.

Materials

First start by collecting together old magazines, brochures and unwanted books. I particularly like National Geographic and science, travel and nature themed publications. For this project fashion and lifestyle magazines are also needed. In addition, you will need some mushroom imagery, if you don’t have any at hand you can source these online doing a Google search. Its best to choose a mushroom with a bulbous head. I have also provided some great mushrooms to work with to download and print off.

You will also need some thick paper or card, and a small paper and sewing scissors for cutting out the delicate collage pieces. I normally use an archival paste glue but for today Pritt stick is fine. If you have a cutting matt, scalpel and ruler then it could be useful for cutting straight lines otherwise you can make do with a scissors. A little bit a blue tack is also useful but not 100% necessary.

Craft materials and old magazines

STEP 1 - GATHER YOUR MATERIAL

Today you’re going to make your own mushroom character in a collaged environment. First choose a couple of mushroom options and cut them out. Then flick through your pile of books and magazines carefully ripping out any facial features, arms and legs that could possibly work with them. Think about colour matching the skins tones. Like humans, mushrooms come in all shapes, sizes and colours! Don’t be too selective at first, you just need a lot of material to play around with. You’ll also need to think of what environment your mushroom will end up in, so also look out for different skies and foreground options. You may want them to end up in a forest, a jungle, by a river, or in a garden. An alternative is to combine 2 different plain colours or textures to create your environment- for example blue for sky, green for the ground. Just carefully tear out anything that could work.

Pages and cut-outs of landscapes and mushrooms from old magazines

STEP 2 - MAKE YOUR MUSHROOM

Start to cut out facial features and body parts and play around with them with your mushroom to see what works. A bit like ‘Mr Potato Head’, an identity will start to form. I usually just focus on eyes, mouths and arms. Think about scale and what size will fit well with your chosen mushroom. Bare arms are good, otherwise choose clothed arms with fabrics or colours that will match. Occasionally I will find legs that colour co-ordinate perfectly with the 'shroom. If you are lucky enough to find appropriate legs, then you may need to trim them down at the waist to fit with the stalk of the mushroom.

Cut-out images of mushrooms and arms and legs

STEP 3 - CUT THINGS UP

Once you have chosen all your mushroom elements, cut them all out. If you have blue tack then temporary tack the collage pieces in place on your mushroom so that you don’t risk losing the pieces, and it keeps them still. You can then experiment with how your mushroom works on various backgrounds.

Mushroom collage

STEP 4 - PUT YOUR MUSHROOMS IN A SETTING

I like to put the mushrooms in an environment so that they don’t feel like they are floating in abstract space. But if you like you can choose to keep it simple and put your mushroom in a found environment or on a plain colour background. Now it's time to experiment with the composition. Try out different skies and backgrounds. Once you've chosen, either using your cutting matt or scissors cut down the background to fit the page. Once you are 100% happy I find it's good to take a quick snap on your phone to reference at the next stage.

STEP 5 - Now it’s time to stick!

You’ll need to dissect the collage then stick it on layer-by-layer. Reference the photo on your phone. First stick down the sky, then the ground, then your mushroom. If you have used any, remove the blue tack from the features and stick them in place. You can also keep adding in extra details if you feel like it to build up the world around the mushroom such as flying birds or insects, or any other interesting objects. You can also try out having more than one mushroom that interact with each other, like two of the pieces I have created.

A collaged landscape with a rainbow
Collaged landscape with mushroom figure
Mushroom collage by Seana Gavin

I hope you enjoyed making your mushroom characters. I look forward to seeing what you create - share your collages with us on social by tagging @somersethouse and @seanagavin


About the artist

I create fantasy, hand-cut collages which usually come in the form of otherworldly landscapes and environments. I’m inspired by science fiction, Hieronymus Bosch, nature, dreams and different states of consciousness, where the rules of reality do not apply. I use found photographic imagery from old books and magazines and turn them into something new and fresh. In some ways I see myself as an image recycler.

I usually start with a theme or a vision in mind. Then, I pull together a pile of potential imagery. I have my own personal library of material, some of which is filed into folders so it is easier to find. For example, ‘body parts’ or ‘plants and trees’. I then loosely start to cut things out and start playing around with compositions and how objects relate to each other, sometimes changing the scale of things to give them a different meaning. A colour scheme and mood will start to form. The rest is quite an intuitive process and comes together in an organic way.

I did a drawing degree at Camberwell Collage of Arts. There were times when I would feel creatively blocked and overwhelmed at facing a blank page. At art school, I felt there was too much focus on the concept and analysis which I believe can sometimes stop the natural creative flow. With collage I never feel that way. Once I start to place things on the page I can immediately see something and start to visualise. For me collage brought the joy back to being an image maker. I have fun with it without over thinking. When I’m working on a piece I feel the same as when I was 5 years old building an intricate Lego city.

www.seanagavin.com

Supported by

Gaia Art Foundation